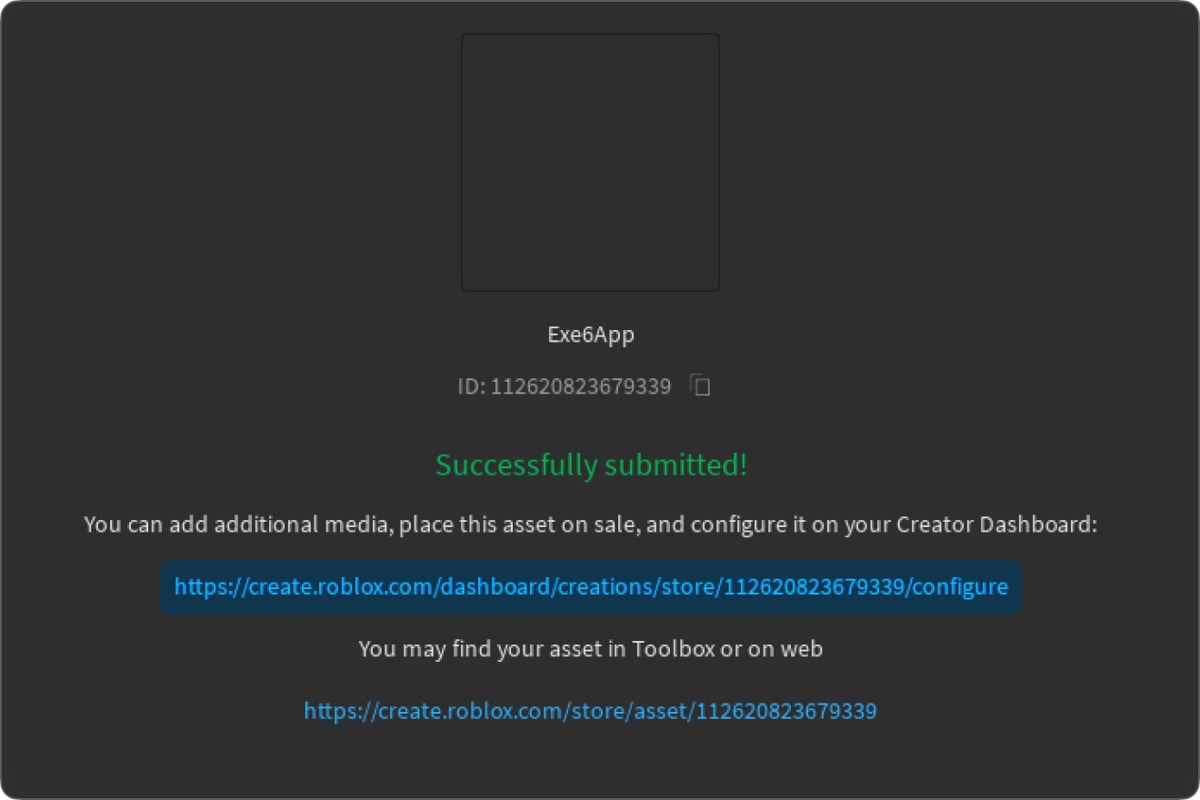
Publishing uploads your prepared app to Roblox, making it available for submission to the Exe 6 App Library.
Prerequisites
Ensure you have prepared your app before starting the publishing process.
Publishing Steps
Upload to Roblox
Right-click the Exe6Folder and select “Save to Roblox…”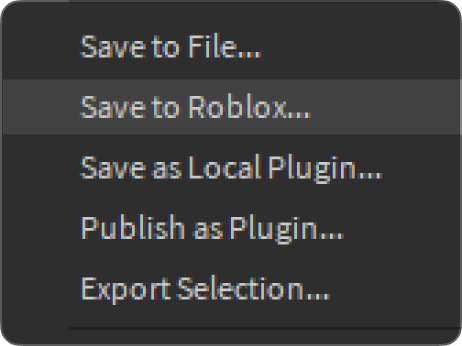
The Exe6Folder contains your components from the preparation step.

App Metadata Configuration

Metadata Properties
The main description of your app. Explain what it does and why users should install it. Be clear and concise.
A short but persuasive tagline for your app. This appears on the app card in the library. Keep it under 50 characters.
A square icon for your app (recommended size: 512x512px). Upload to Roblox and use the asset ID.
The hex code for your app’s theme color (e.g.,
#6366F1). This color is used in the UI.The minimum Exe 6 build number required to run your app. If a user has a lower build, they cannot install your app.Example:
606 for build 606Enable Distribution
Enable Creator Store Distribution
On the Roblox Create configuration page, find and enable the option:“Distribute on Creator Store”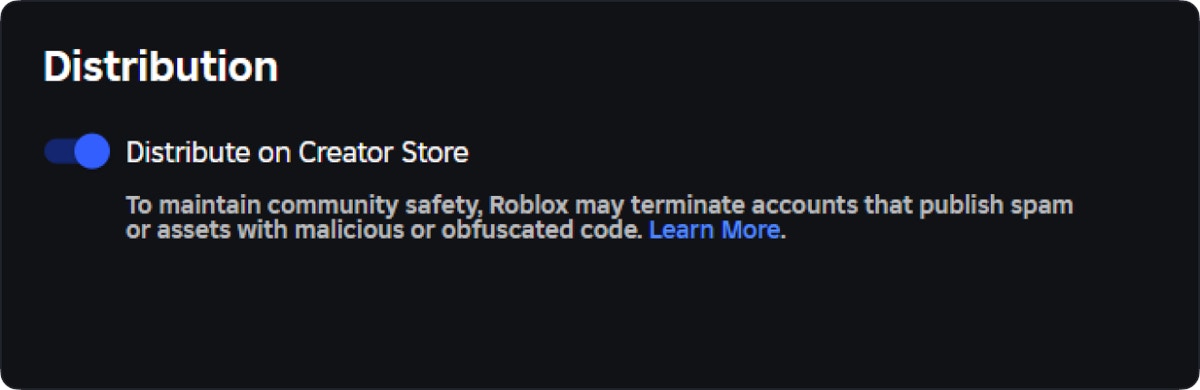
What Happens Next?
After publishing, your app is ready for submission to Flare Studio for review.Submit for Review
Learn how to submit your app to the Exe 6 App Library
Metadata Checklist
Before moving to submission, ensure:Description Quality
Description Quality
- Clear explanation of app features
- Proper grammar and spelling
- Highlights unique value proposition
Visual Assets
Visual Assets
- Icon is square and follows guidelines
- Icon doesn’t contain app name
- Color complements the icon design
Technical Requirements
Technical Requirements
- Minimum build is correctly set
- All metadata fields are filled
- Creator Store distribution is enabled